Deploying Btsync, Syncthing and Seafile in containers
Jump directly to:
Btsync and Syncthing
Seafile
There is a lot of buzz around BTSync and it's open source competitor Syncthing. Both allow you to sync data across devices and systems without needing to store them in a central server. Rather than a centralized storage model like Dropbox or Owncloud, Btsync and Syncthing use P2P technologies to let you share folders easily across your devices and systems in near real time.
The way the apps are designed make them extremely easy to use and with clients for all platforms at least from Btsync convenient too. Because of the flexibility of the platforms people have started using them in creative ways beyond the standard use cases of syncing devices, remote backup and collaborating with large files, to more innovative use cases like distributing large sized content and keeping load balanced workloads in sync.
It's this last case which is interesting. We recently did a post on distributed storage options for LXC containers where we covered distributed storage in scale out scenarios from SAN and NAS to Gluster, DRBD and workaround solutions like Lsyncd. It's when researching this post that we came across a lot of folks experimenting with Btsync to keep server data in sync in near real time and gigabit backup over wan.
Btsync and Syncthing offer simplicity, resilience, scale and performance for these workloads but come into their own when dealing with large files. File transfers are encrypted, with private information never being stored on an external server or in the cloud. There remain some issue still to be ironed out but both applications are maturing fast.
However for use cases like syncing multiple app instances behind a load balancer I am not sure the network overhead of a chatty p2p app in all your nodes is the most efficient way. For some scenarios something something like Lsyncd may actually be faster and lighter on resources. However the downside is scaling this beyond 3 nodes is a real challenge leaving few options other than Gluster.
Deploying Btsync and Syncthing containers
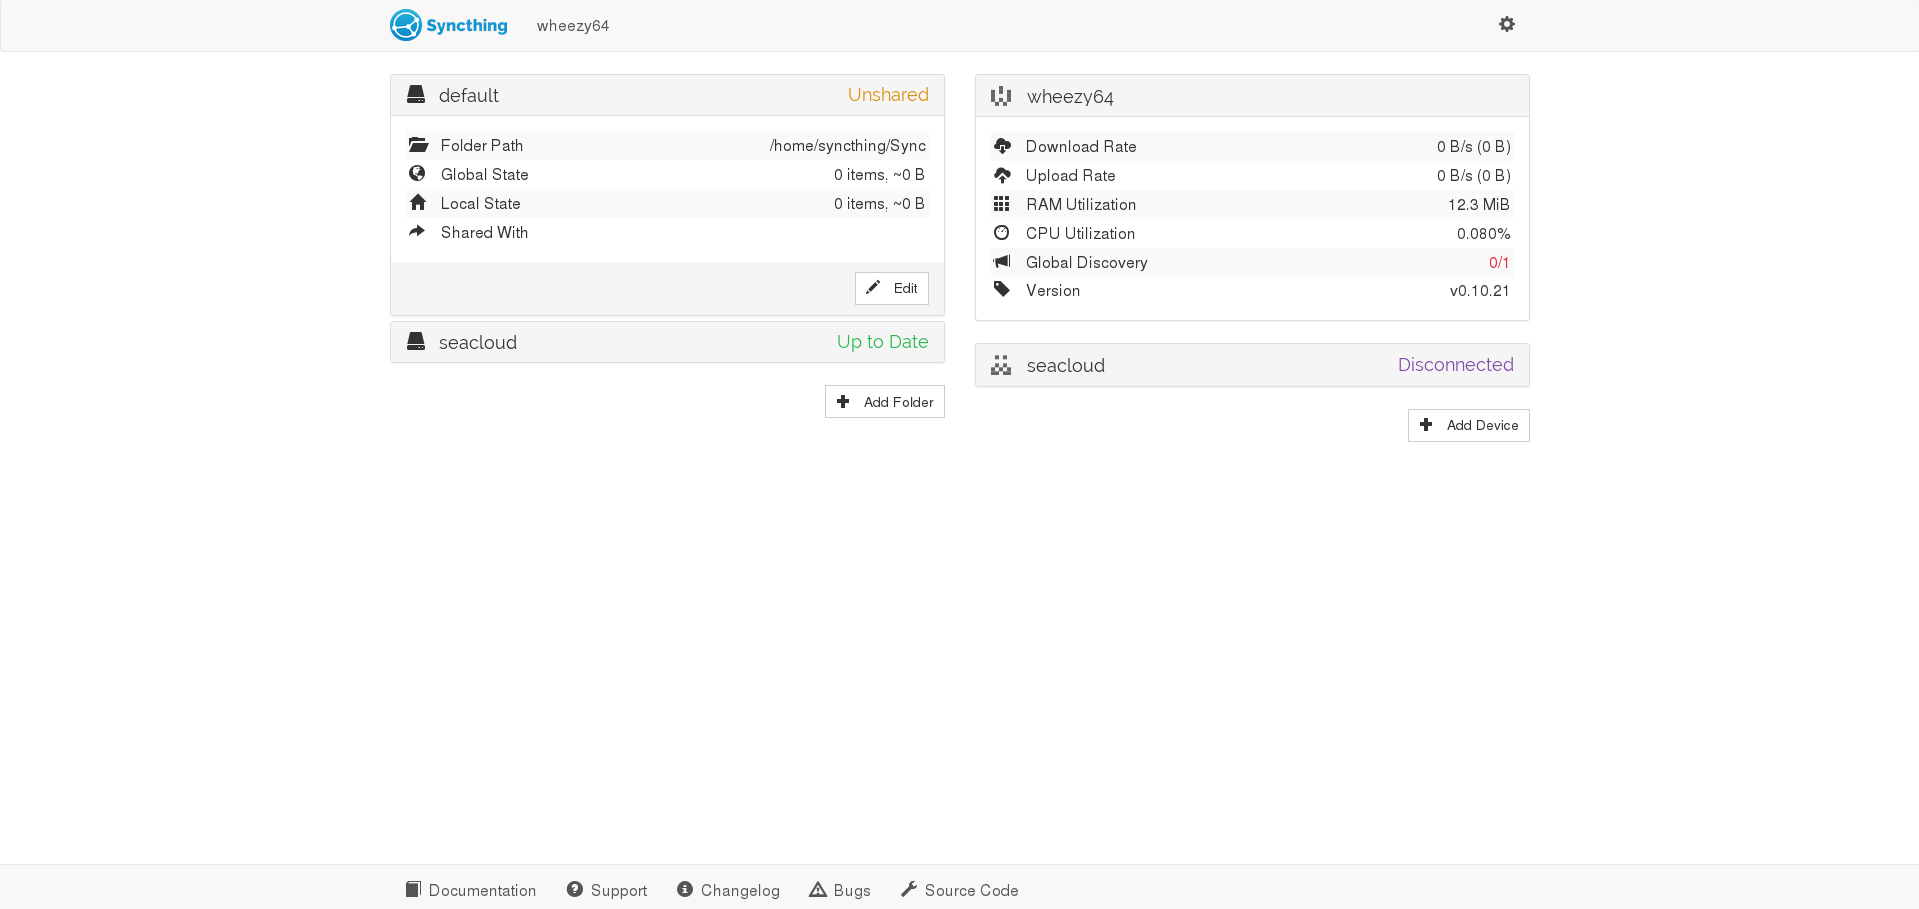
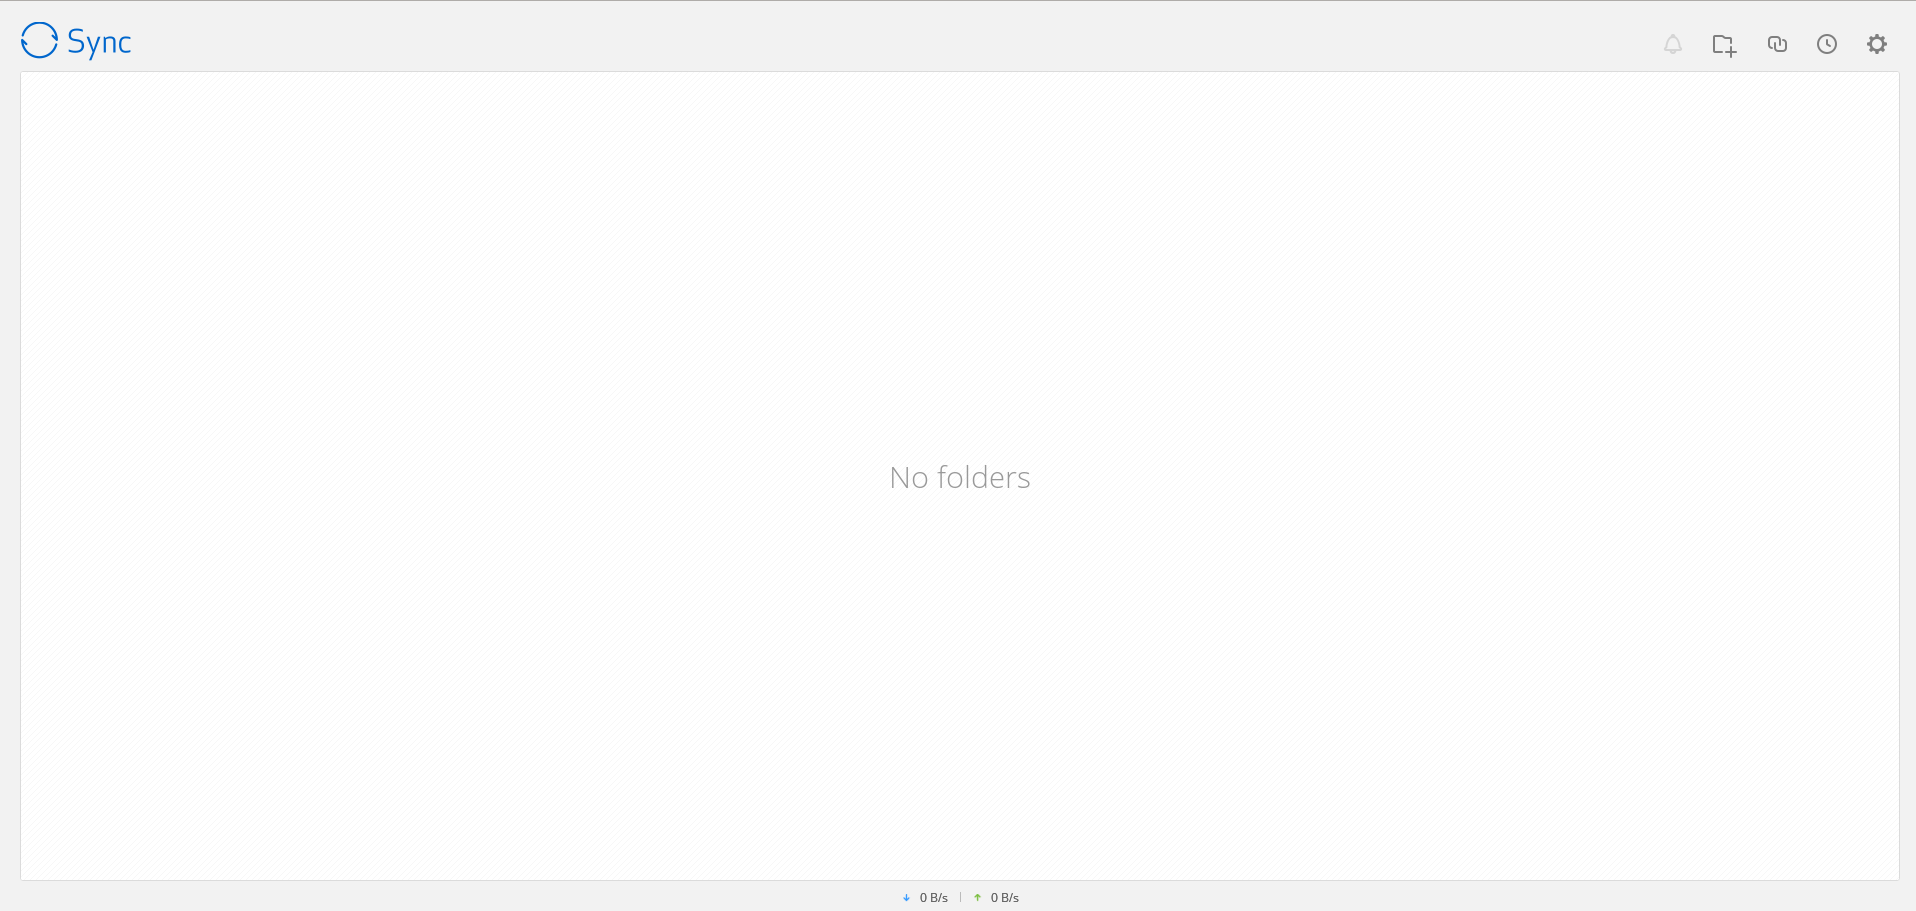
We just published Btsync and Syncthing containers for users to experiment with. Download them here. Both containers have been configured with the apps to autostart and the GUIs have been configured to be available on the containerIP:8888 for Btsync and containerIP:8080 for Syncthing.
If you are using them on a cloud or VPS instance when you can't access the container IP locally you will need to port forward the respective ports from the public IP to the container IP.
For instance for host with public IP 1.1.1.1 and container IP 10.0.3.5, to access the Btysync GUI from the host:
iptables -t nat -I PREROUTING -i eth0 -p TCP -d 1.1.1.1/32 --dport 8888 -j DNAT --to-destination 10.0.3.5:8888
To access the Syncthing GUI on 8080
iptables -t nat -I PREROUTING -i eth0 -p TCP -d 1.1.1.1/32 --dport 8080 -j DNAT --to-destination 10.0.3.5:8888
Once you are in the GUI you can start sharing folders with other systems. Containers already have outbound internet access by default. Btsync works across NAT by default, in the case of Syncthing you may need to forward port 22000.
You can login to these accounts by using sudo su ie
sudo su - btsync
Both of the apps don't have init scripts in the default install so we added them so the apps are started on automatically on reboot. You can use the service command to start, stop and restart the apps for instance for btsync:
service btsync restart
Btsync config file is loaded from /home/btsync/.sync/config.json. You can change webgui IP, password and other settings here. These are also available to change in the GUI.
For Syncthing the configuration is created on first launch in the /home/syncthing/.config/syncthing/config.xml file. You can change webgui IP, passwords and other settings here. These are also available to change in the GUI. For Syncthing we suggest changing the login/password and access from plain http to https from the GUI on first login.
You can of course change the installation and app settings according to your preference. Both apps are pretty easy to install and use Please browse through the app.readme files in the root folder of the container for details.
To enable your own discovery server go to the Discovery folder and run the Discosrv utility
discosrv -db-file="/home/syncthing/discosrv" -stats="/home/syncthing/discosrv/stats"
You will now need to port forward UDP port 22026 from the publicIP to the containerIP. For instance for public IP 1.1.1.1 to discovery server container IP 10.0.3.5
iptables -t nat -I PREROUTING -i eth0 -p UDP -d 1.1.1.1/32 --dport 22026 -j DNAT --to-destination 10.0.3.5:22026
Once this is done change the global discovery announce server URL in all your Syncthing clients to the new global discovery server URL
Please note if you run any Syncthing clients locally on the same IP as the discosrv server, then the global discovery server url in the SYncthing GUI should be the containerIP:22026 AND NOT the publicIP:22026. That will not work.
Tip 2 If you are already using Nginx to serve your container apps - you have looked at our deploying containers with Nginx guide - you can use the same Nginx instancee to serve the Btsync or Syncthing apps from the contianerIP:localport. For a lot of container deployments it makes sense to run a Nginx reverse proxy to serve various applications in the containers.
Seafile
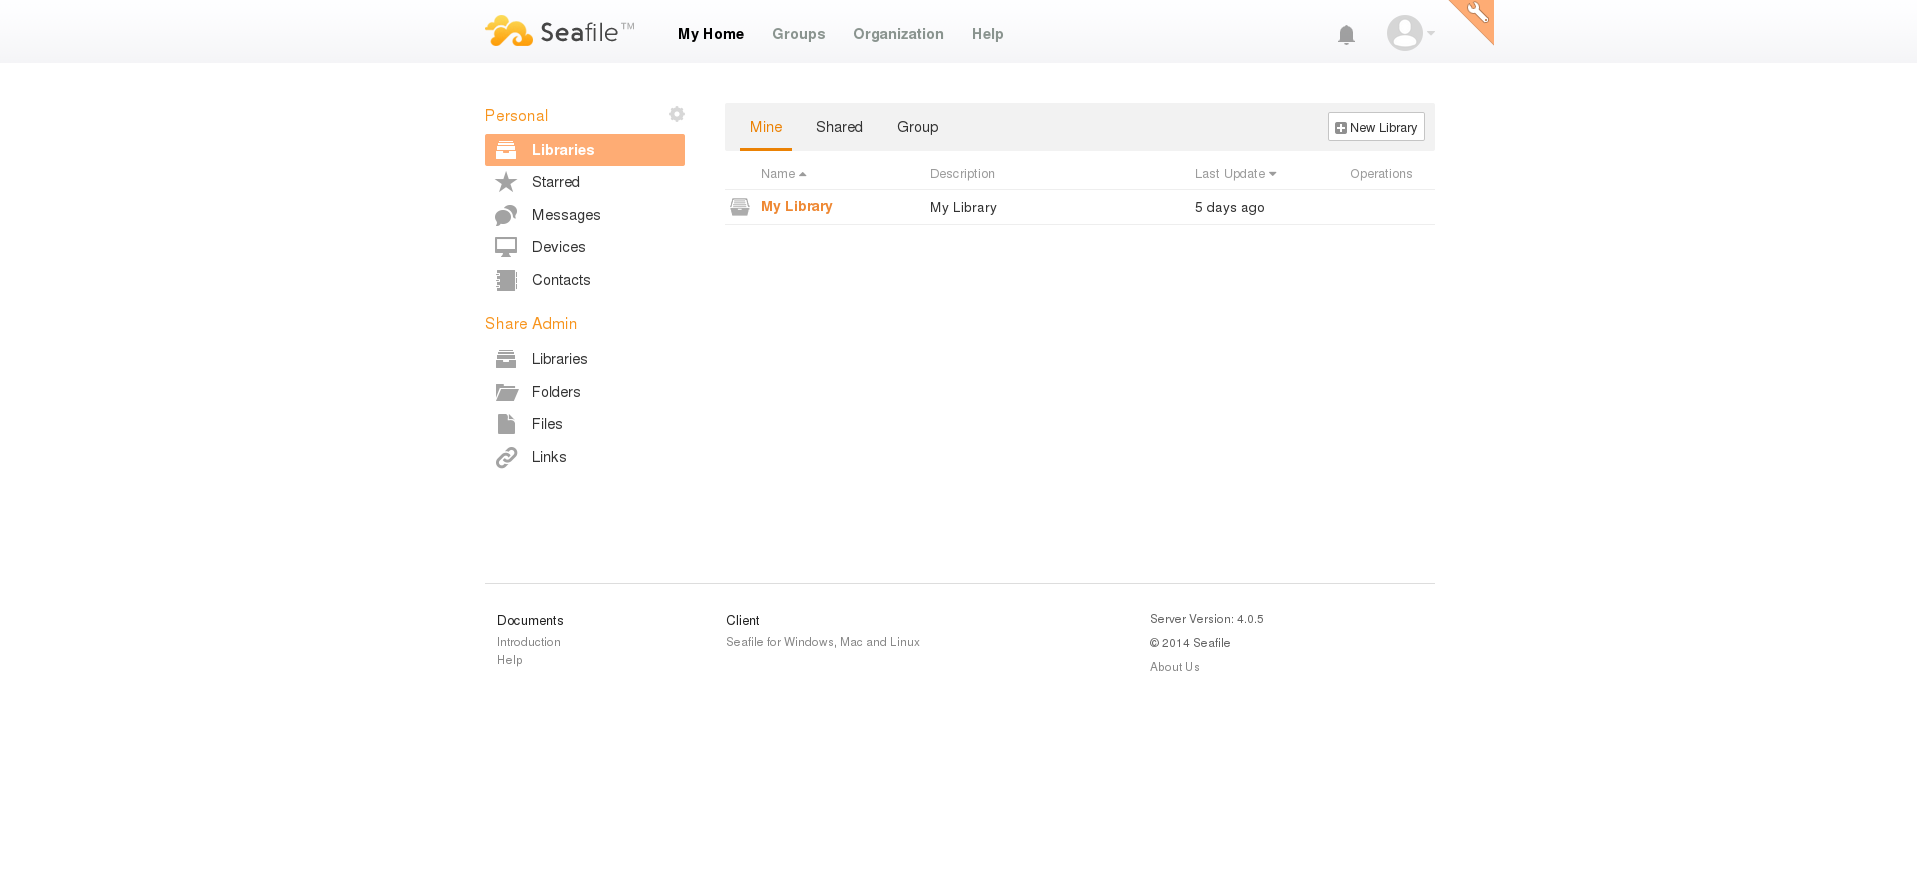
Like Owncloud you can run your own Seafile server. We have released a Seafile container and it should now take you seconds to have your own fully functioning Seafile server.
It's easy to like Seafile, its its fully functional, not complex to install because the developers put some effort to make that so and is easy to use but offers powerful capabilities. That's often a difficult combination to pull off. And a big plus is Seafile has clients for all platforms which makes it extremely convenient to use.
App details are available in the container's root folder in the app.readme file like all Flockport containers. We have deployed seafile under the seafile user with a disabled login and the installation is at /var/www/haiwen. You can login to the seafile user with sudo to access the app.
sudo -u seafile /bin/bash
The install is according to official installation instructions. We have added an init file so it auto starts on reboot and you can use the service command to start,restart or stop the Seafile app.
We have also configured Nginx to serve the seafile app on the myseacloud.org URL which is standard for Flockport containers. You can of course change all these according to your preferences.


